Windows 10 Storage Sense Explained

Intro
Everyone had the moment, that you get a notification that your disk is nearly full, or when you want to update Windows 10 you get a popup with the warning to free up some space on your disk
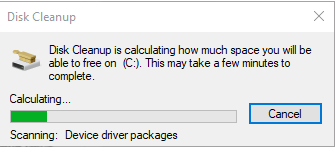
Of course, you can run a disk cleanup program manual and let it help delete for example Temporary Internet File, Delivery Optimization File, Windows upgrade log files, or Previous Windows installation(s).
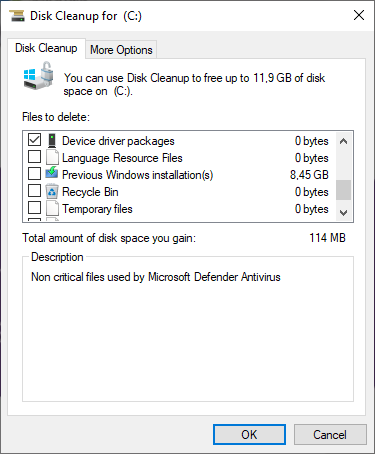
You can select the items that you want to delete and this will up in this case 11,9 GB of disk space.
All well but how about your OneDrive files that are stored in the following location:
C:\Users\AndrevandenBerg\OneDrive
You already use OneDrive Files on-demand I assume and then you say I will have only the files on my local disk that I use and the other files are only in the cloud. You are right but over a long time this can also use up space because mostly you don’t change the file back to cloud-only.
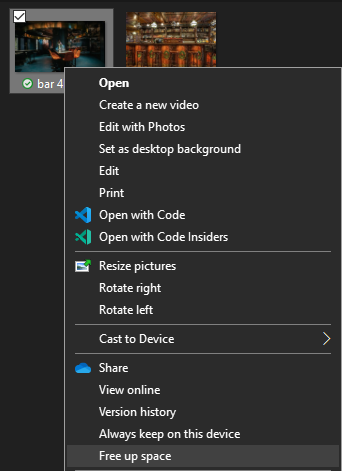
And here come in Storage Sense that you can configure to clean up you OneDrive files that you did not use for example 14 day and will make them again cloud-only like you would do with right-click on the file and choose ‘free up space’.
How to configure to free up space of OneDrive
You go to Setting and then System and then choose Storage
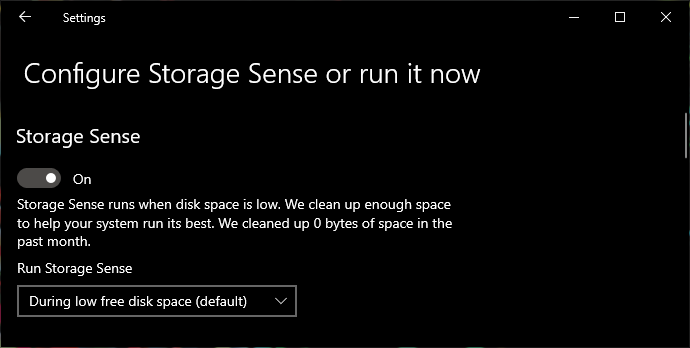
First, you have to turn Storage Sense on, then you click on ‘Configure Storage Sense or run it now’.

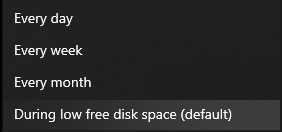
You have now the option to configure when the Storage Sense has to run, default it will stand on ‘During low free disk space (default)’.
But you can set it also to the following options.
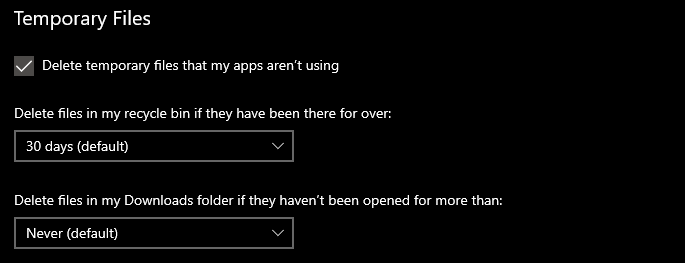
There is also a section for Temporary Files, for your Recycle Bin and Downloads the last one I would be careful with that’s why default it’s standing on ‘Never’.
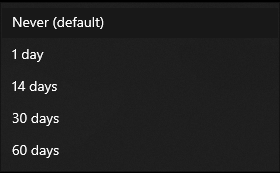
But when you are really sure you can set it to the following durations.
And here we have the option for OneDrive where I talked earlier about, So you see that I have two locations one for OneDrive Personal and one for OneDrive for Business.
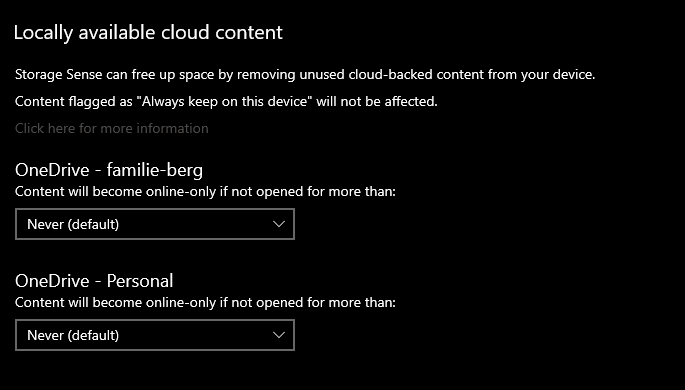
Also here you can change the default duration setting of ‘never’ to the following durations.
And as last we have the option to clean up Previous versions of Windows, also here think really good about it before you activate this option because it will keep the previous version for 10 days after you upgrade to a newer version of Windows and then is deleted and you can’t go back to the previous version of Windows.

Configure with Intune
You also can fine-tune this with Intune to meat you needs, and you can find on docs.microsoft.com exactly explained how to configure this with a Policy CSP (Configuration Service Provider).
Peter van der Woude did write a blog post about it how to configure it in Intune with OMA
https://www.petervanderwoude.nl/post/configure-storage-sense-via-windows-10-mdm
Conclusion
You can free up the disk space manual with the good old Disk Cleanup tool, but then you have also manual to free up space for your OneDrive files that reside local on your disk.
Or you can automate this with the help of Windows 10 Storage Sense and take all the manual work out of your hands.
I like the feature very much.